Last week, Back Thru The Future launched a new free hard drive shredding program for consumers. Businesses have a lot more options when it comes to disposing of their IT equipment and hard drives, but many people still want to donate or sell their old equipment. Whether you want to include your hard drive or not, it’s important to make sure there is NO data left. There a many ways to clear your hard drives, whether for a personal computer or a business computer. If the computer is being donated or sold, it should never be assumed that the new owner will clear it. Additionally, even some recyclers will recoup some of the value of the machine by reselling the hard drives, so it’s important to understand the ways to clear your hard drives before handing it over to anyone other than a recycler who shreds every hard drive received.
Why is it important to clear your hard drives?
A 2019 study by the British consumer-tech website Comparitech and performed by researchers at the University of Hertfordshire found that 59% of used hard drives purchased in the United Kingdom and United States contained data about the previous owners. Whether these were from personal home computers or business computers, the data found on these hard drives included employment and payroll records, family and holiday photos, business documents, visa applications, resumes and job applications, lists of passwords, passport and driver’s license scans, tax documents, bank statements, and lists of students. In this study, only 26% of the hard drives had been properly wiped, Comparitech said. Another 16% couldn’t be accessed at all. Of the hard drives that did contain data, 43% of the previous owners said they had tried to wipe the drives but hadn’t done it properly. Many of those drives had been subject to a quick-format process, but that doesn’t accomplish much of the deletion process. Data-recovery tools will still be able to get most of the files back.
Here Are the 2 Best Ways to Clear Your Hard Drives:
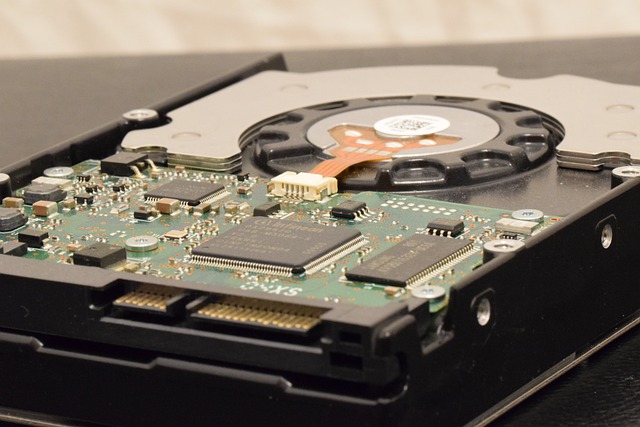
- The first involves drilling a hold through the hard drive. A drill press is optimal for this. Put on your safety glasses, get a sharp ¼” drill bit and punch it through the middle of the hard drive, just outside the center spindle. When it comes out the other side of the drive, the data is non-retrievable.
- The better way to destroy a hard drive is to shred it. This must be done with an industrial shredder. This also renders the data non-retrievable. While this involves sending or bringing your hard drives to an electronic shredding facility, it’s the most efficient option for households or businesses without a drill press or those with more than a few hard drives. Additionally, most electronic shredding facilities will also take and destroy cell phones and tablets, where it is more difficult to remove the hard drive.
Read about Back Thru The Future’s Consumer Hard Drive Shredding Program